#Articles
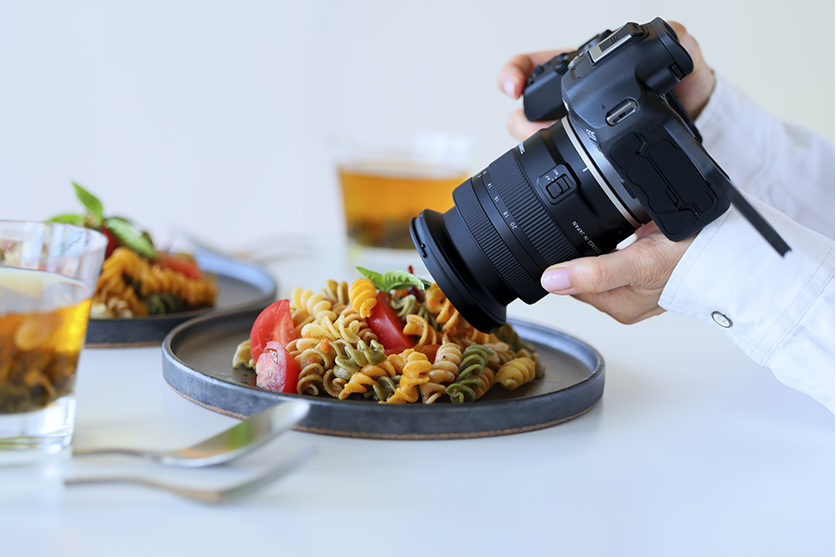
In our everyday surroundings, there are numerous small, beautiful worlds that can easily be overlooked unless we take a closer look. Flowers, insects, accessories, and more are common subjects for macro photography, which brings out the beauty of these tiny details. In this article, we will introduce the tips for close-up photography and provide pointers on selecting the right lens.
What is close-up photography (Macro shooting)?
Close-up photography refers to capturing subjects from a very close distance to make them appear larger. When you shoot from a few centimeters away from the subject, this is often referred to as “close-up” or “macro shooting.” Specifically, when a subject is captured at life-size or larger (with a maximum magnification ratio of 1:1), it is called “macro shooting.” However, the term is often used interchangeably in most cases.
Using a lens with a short minimum object distance allows you to get closer to the subject, enabling you to capture the intricate beauty of details that might be missed by the naked eye. The charm of macro photography lies in the ability to discover unexpected shapes and uncover new aspects of the subject.
Close-up photography for different subjects
Let’s begin by introducing representative subjects where close-up photography shines. Depending on the subject, the tips for shooting will vary, so let’s take a look.
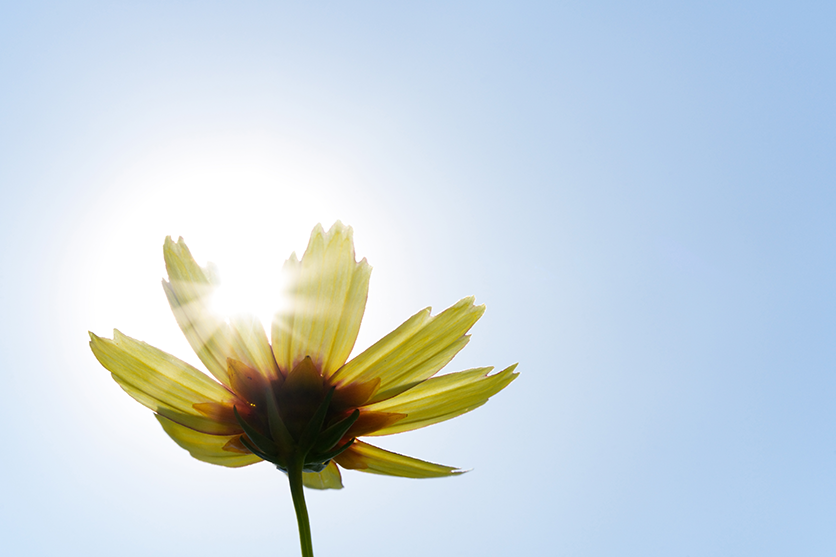
Flowers and plants
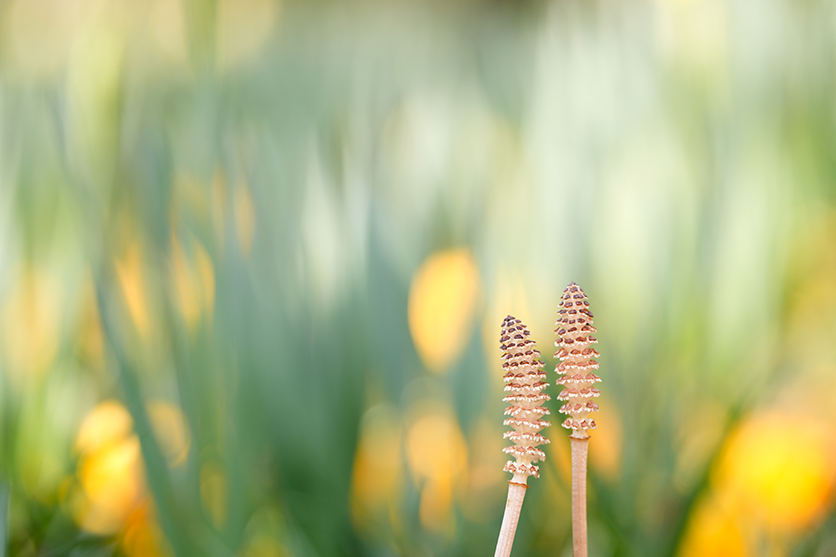
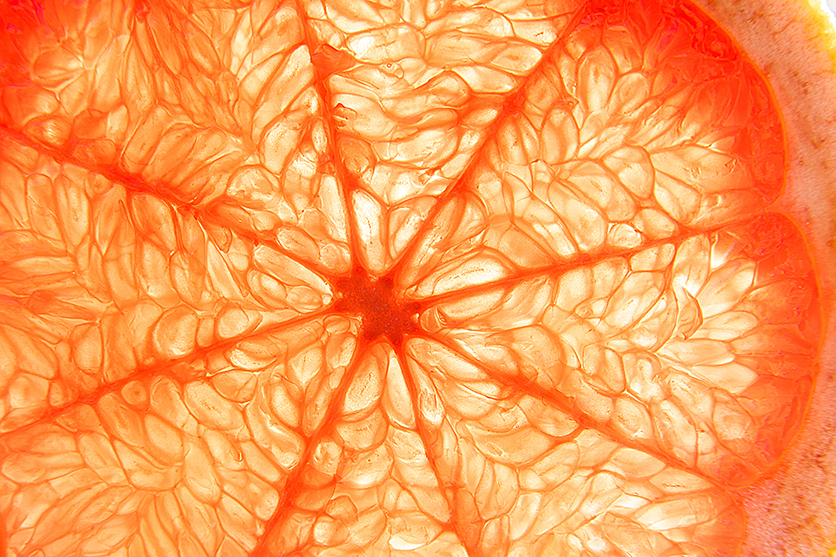
Plants, such as flowers, possess beautifully intricate structures, making them an ideal subject for close-up photography. Focus on capturing the delicate details with soft lighting.
For instance, using side light or backlighting in the morning or evening can beautifully capture the texture of petals and the translucent nature of the structures. Additionally, using a wide aperture close to full open for foreground or background blur can create a beautifully deep, dreamlike image.
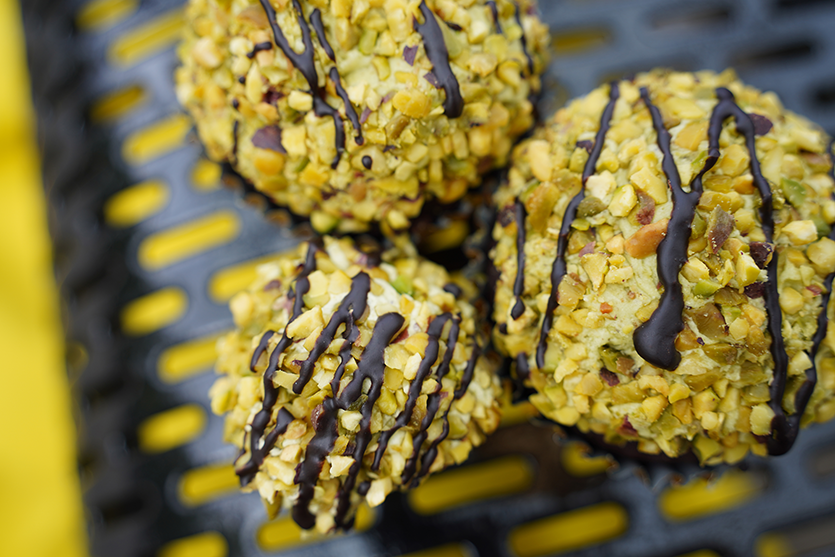
Small objects and accessories
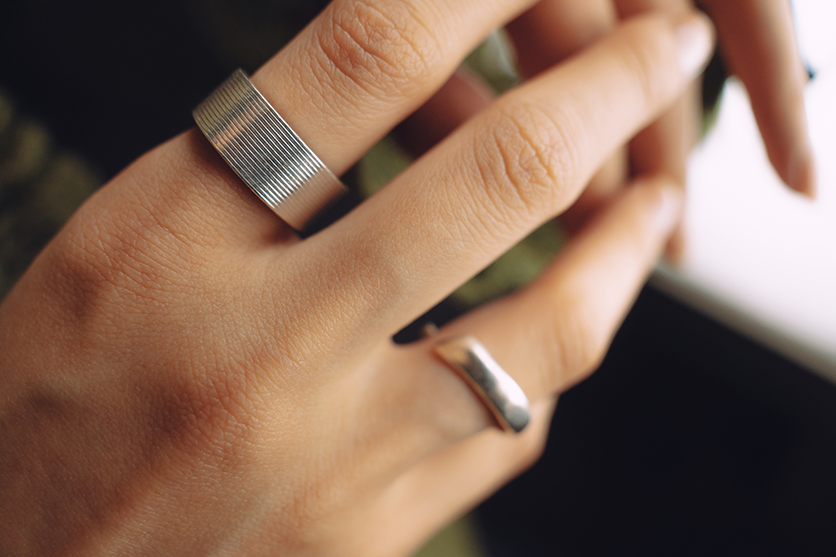
Accessories or handcrafted items are also great subjects for close-up photography. Capture the fine details of craftsmanship, textures, and the unique charm that is often overlooked.
Side lighting enhances shadows, creating a sense of three-dimensionality. Adding background blur will make the subject stand out and add a more captivating effect to the photo.
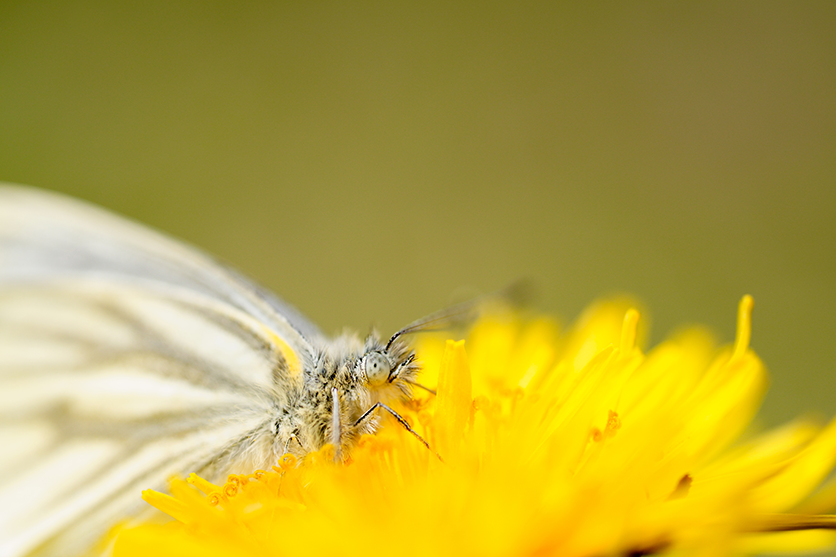
Insects
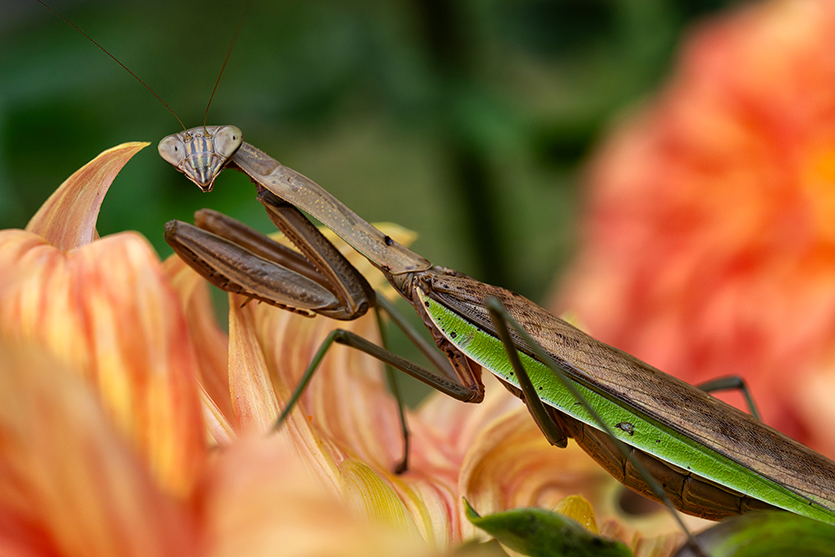
In close-up insect photography, focus on details like the compound eyes or the delicate patterns on the wings. Incorporating flowers or plants in the background helps to convey the insect’s habitat and environment.
However, insects are often wary and difficult to approach. Observing their behavior and waiting for the right moment is key. Using a medium telephoto lens or a telephoto lens with high close-up capabilities can help maintain a suitable distance.
Maximum magnification and minimum object distance

Two important concepts for understanding close-up photography are maximum magnification and minimum object distance.
Maximum magnification refers to the ratio between the actual size of the subject at the minimum object distance and the size of the image on the image sensor (the magnification ratio). For example, when a 1 cm subject is captured on the sensor at a size of 1 cm, it is referred to as “life-size” and the ratio is expressed as 1:1. Lenses that can shoot at life-size magnification are generally referred to as macro lenses, which are designed to capture small details at a larger size.
The minimum object distance refers to the closest distance between the subject and the image sensor at which the subject will appear in focus. The shorter the minimum object distance of the lens, the closer you can get to the subject.
When selecting a lens, check the maximum magnification ratio and minimum object distance of the lens to understand its close-up capabilities.
Do you need a macro lens for close-up photography?
Because the term “macro” is often associated with macro lenses, it might seem that you can only do close-up photography with a macro lens. Indeed, macro lenses are designed to allow you to capture subjects at life-size (1:1), and they are primarily used for close-up photography.
However, macro photography is not limited to macro lenses. Lenses with a short minimum object distance, even if they are not labeled as macro lenses, can also perform close-up photography effectively. Therefore, when planning to do close-up shooting, make sure to understand the maximum magnification ratio and minimum object distance of the lens you are considering.
Accessories to help with close-up photography
Since close-up photography involves a high level of precision in focusing and exposure, using accessories can help. Below are some common accessories that can be useful for close-up photography.
Tripod and monopod
Since close-up photography often requires getting very close to the subject, hand shake becomes more of a concern. Using a tripod provides stability and helps maintain sharp focus. However, tripods can limit flexibility when changing shooting positions, and there are many places where setting up a tripod is difficult. If you want to balance stability and mobility, consider using a monopod.
Flash and lighting
For indoor shooting or in low-light conditions, natural light may not be sufficient. Flash and LED lights can be used to effectively bring out the texture of subjects, such as metallic shine or the transparency of plants, in low-light environments.
These lights can also be used as fill lights for backlit shots, allowing you to capture details in the shadow areas. Additionally, using a ring flash in close-up photography helps light the subject from all sides, reducing harsh shadows.
Tips for successful close-up photography
Here are some essential tips for taking more captivating close-up photos. By keeping these points in mind, even beginners can enjoy capturing beautiful close-up images.
Focus on the subject
In close-up photography, the depth of field (the range of areas in focus) is very shallow. Therefore, it’s important to plan ahead which part of the subject you want to focus on.
For example, in insect photography, decide whether to focus on the compound eyes, antennae, or legs, and then proceed with shooting. Since autofocus (AF) might struggle to focus on the exact desired spot, switch to manual focus (MF) when necessary.
Adjust exposure
To capture a beautiful photo, it is crucial to shoot at the correct exposure. Here are some recommended exposure settings to help guide your adjustments:
Shooting mode
In close-up photography, background blur is a key element that affects the impression of the photo. Therefore, it’s best to use aperture priority mode to first set the aperture (f-stop). If autofocus struggles to focus properly, switch to manual mode.
F-number (Aperture)
When you set the aperture to a wide-open value (such as F2.8), the background will blur significantly, and you can create an impactful photo with a pronounced subject. On the other hand, closing down the aperture to F8 or F11 increases the depth of field, allowing more of the subject to be in focus and capturing fine details. Use a wide aperture for emphasizing the subject, and a narrow aperture for capturing detailed, expansive areas.
Shutter speed
For handheld shooting, set the shutter speed to at least 1/125 seconds to minimize shake. If the image turns out too dark, adjust the shutter speed slower. With a tripod, slower shutter speeds can be used for more stable shots, allowing for low ISO shooting even in darker conditions.
ISO Sensitivity
Since close-up photography aims to capture fine details, clear and noise-free images are ideal. In bright outdoor conditions, set the ISO to 100-400. However, in low-light situations, you may need to increase the ISO. Test shots at ISO 1600-3200 may be necessary for darker environments.
Exposure compensation
In backlit situations, where the subject might appear too dark, add positive compensation to bring out the details. If shooting a light-colored subject, negative compensation can help prevent overexposure. Conversely, dark subjects like insects may benefit from slight negative compensation to create a more striking, cool look.
Controlling the direction of light
The direction of light plays a significant role in highlighting details. For instance, backlighting emphasizes the subject’s outline and surface gloss, while side lighting enhances shadows and gives a three-dimensional effect. These are especially effective for insects, where you want to emphasize surface textures. Experiment with different angles and lighting conditions to see what works best.
Enhancing the subject through composition
To fully bring out the subject’s charm, focus on composition. Symmetrical patterns or structures can be striking when shot using the “center composition.” For a more dynamic representation of small objects, try diagonal composition. If you want to focus on balance and negative space, the “rule of thirds” is an effective composition to use.
By using these classic compositions as a reference, you can create photos with strong visual impact.
Organizing the background information
In close-up photography, the background is often limited in size. It’s important to be mindful of what to include or exclude when shooting. For instance, contrasting colors in the background can emphasize the subject’s color. Alternatively, reducing background details with bokeh can make the subject appear larger and more prominent.
Points to consider when choosing a lens for close-up photography
To fully enjoy close-up photography, choosing the right lens is essential. Here are some factors to consider when selecting a lens for close-up photography:
Minimum object distance
Lenses with shorter minimum object distances allow you to get closer to the subject. This allows for more daring compositions and creative expressions. Even if you don’t often engage in close-up photography, a lens with a short object distance can come in handy when you need to get closer to a subject.
Maximum magnification
Lenses with higher maximum magnification can capture subjects more prominently. A macro lens with 1:1 magnification reproduces the subject at life size on the sensor, capturing fine details precisely. A half-macro lens (1:2 magnification) captures subjects at half their actual size while providing a wider field of view.
Wide aperture
A lens with a wide aperture makes it easier to shoot in low-light conditions, allowing more light to reach the sensor. Additionally, a wide aperture creates a greater background blur, enhancing the dreamy, ethereal quality of close-up shots.
Focal length
The focal length affects the field of view. A wide-angle lens is ideal for capturing the subject and its surrounding environment, such as flowers and the landscape. A standard lens balances the subject and background for natural compositions, while a telephoto lens allows you to shoot distant subjects up close.
Lightness and compactness
Along with image quality, consider the weight and portability of the lens. Lightweight lenses are less tiring for long shoots and help reduce camera shake in handheld photography. Compact lenses are especially useful for getting close to subjects in narrow spaces.
Autofocus (AF) performance
When choosing a lens, check the autofocus performance, especially for close-up shots. If you’re photographing moving subjects, such as insects, check the tracking performance as well.
Uncover new charms of your subject through close-up photography
Close-up photography is a method that allows you to express the small subjects around you in extraordinary ways. By controlling depth of field and background blur, you can capture beautiful and large details. When choosing a lens, opt for one with high close-up capabilities and excellent rendering performance.